> ## Documentation Index
> Fetch the complete documentation index at: https://docs.hotglue.com/llms.txt
> Use this file to discover all available pages before exploring further.
# Job settings
> Set up job settings and webhook monitoring
# Basic Settings
| Setting | Description |
| --------------------------------------------------------- | ---------------------------------------------------------------------------------------------------------------------------------------------------------------------------------------------------------------------------------------------------------------------- |
| Force full sync | This will run *full* historical sync jobs every time, including records that have already been synced. |
| Never sync historical data | This prevents syncing any historical data. When enabled, the configured start date is replaced with the current date/time. Only records created or updated after the tenant links will be synced. |
| Force discover | Force discover will refresh the field map before every sync job. This makes jobs run longer, but is useful when each user has different fields. |
| Automatically trigger a job when an integration is linked | This will run an initial full sync job as soon as your customer links an integration. |
| Trigger a discover when an integration is linked | This will refresh the field map after a user links. This is especially useful if you want your users to map fields before running the first job. |
| Automatically rollback job on failure | When a critical error is detected, this setting will automatically roll back the entire job. |
| Automatically enable default sync schedule | This will create a sync schedule every time a user links a new source. This only applies to sources synced after this setting is enabled. Learn more about [default sync schedules here](https://docs.hotglue.com/docs/jobs-scheduling#using-a-default-sync-schedule). |
| Save snapshots even when jobs fail | By default, snapshots will only persist if a job is successful. Turning this on will allow snapshots to be updated whether or not the associated job succeeds. Learn more [about snapshots here.](https://docs.hotglue.com/docs/transformations-snapshots) |
# Datadog integration
You can configure hotglue to push job events (success or failures) directly to your Datadog events to maintain observability in one platform. To configure, head to your Environment Job Settings, and configure your Datadog Region and API Key.
Once these settings are saved, hotglue will automatically begin pushing job events to your Datadog account!
# Slack integration
For a simpler notification system, you can configure a free Slack app to get notified about failed jobs.
1. Create a [free Slack app](https://api.slack.com/messaging/webhooks).
2. Paste your new incoming webhook URL into hotglue. This URL will look something like this:
```
https://hooks.slack.com/services/T00000000/B00000000/XXXXXXXXXXXXXXXXXXXXXXXX
```
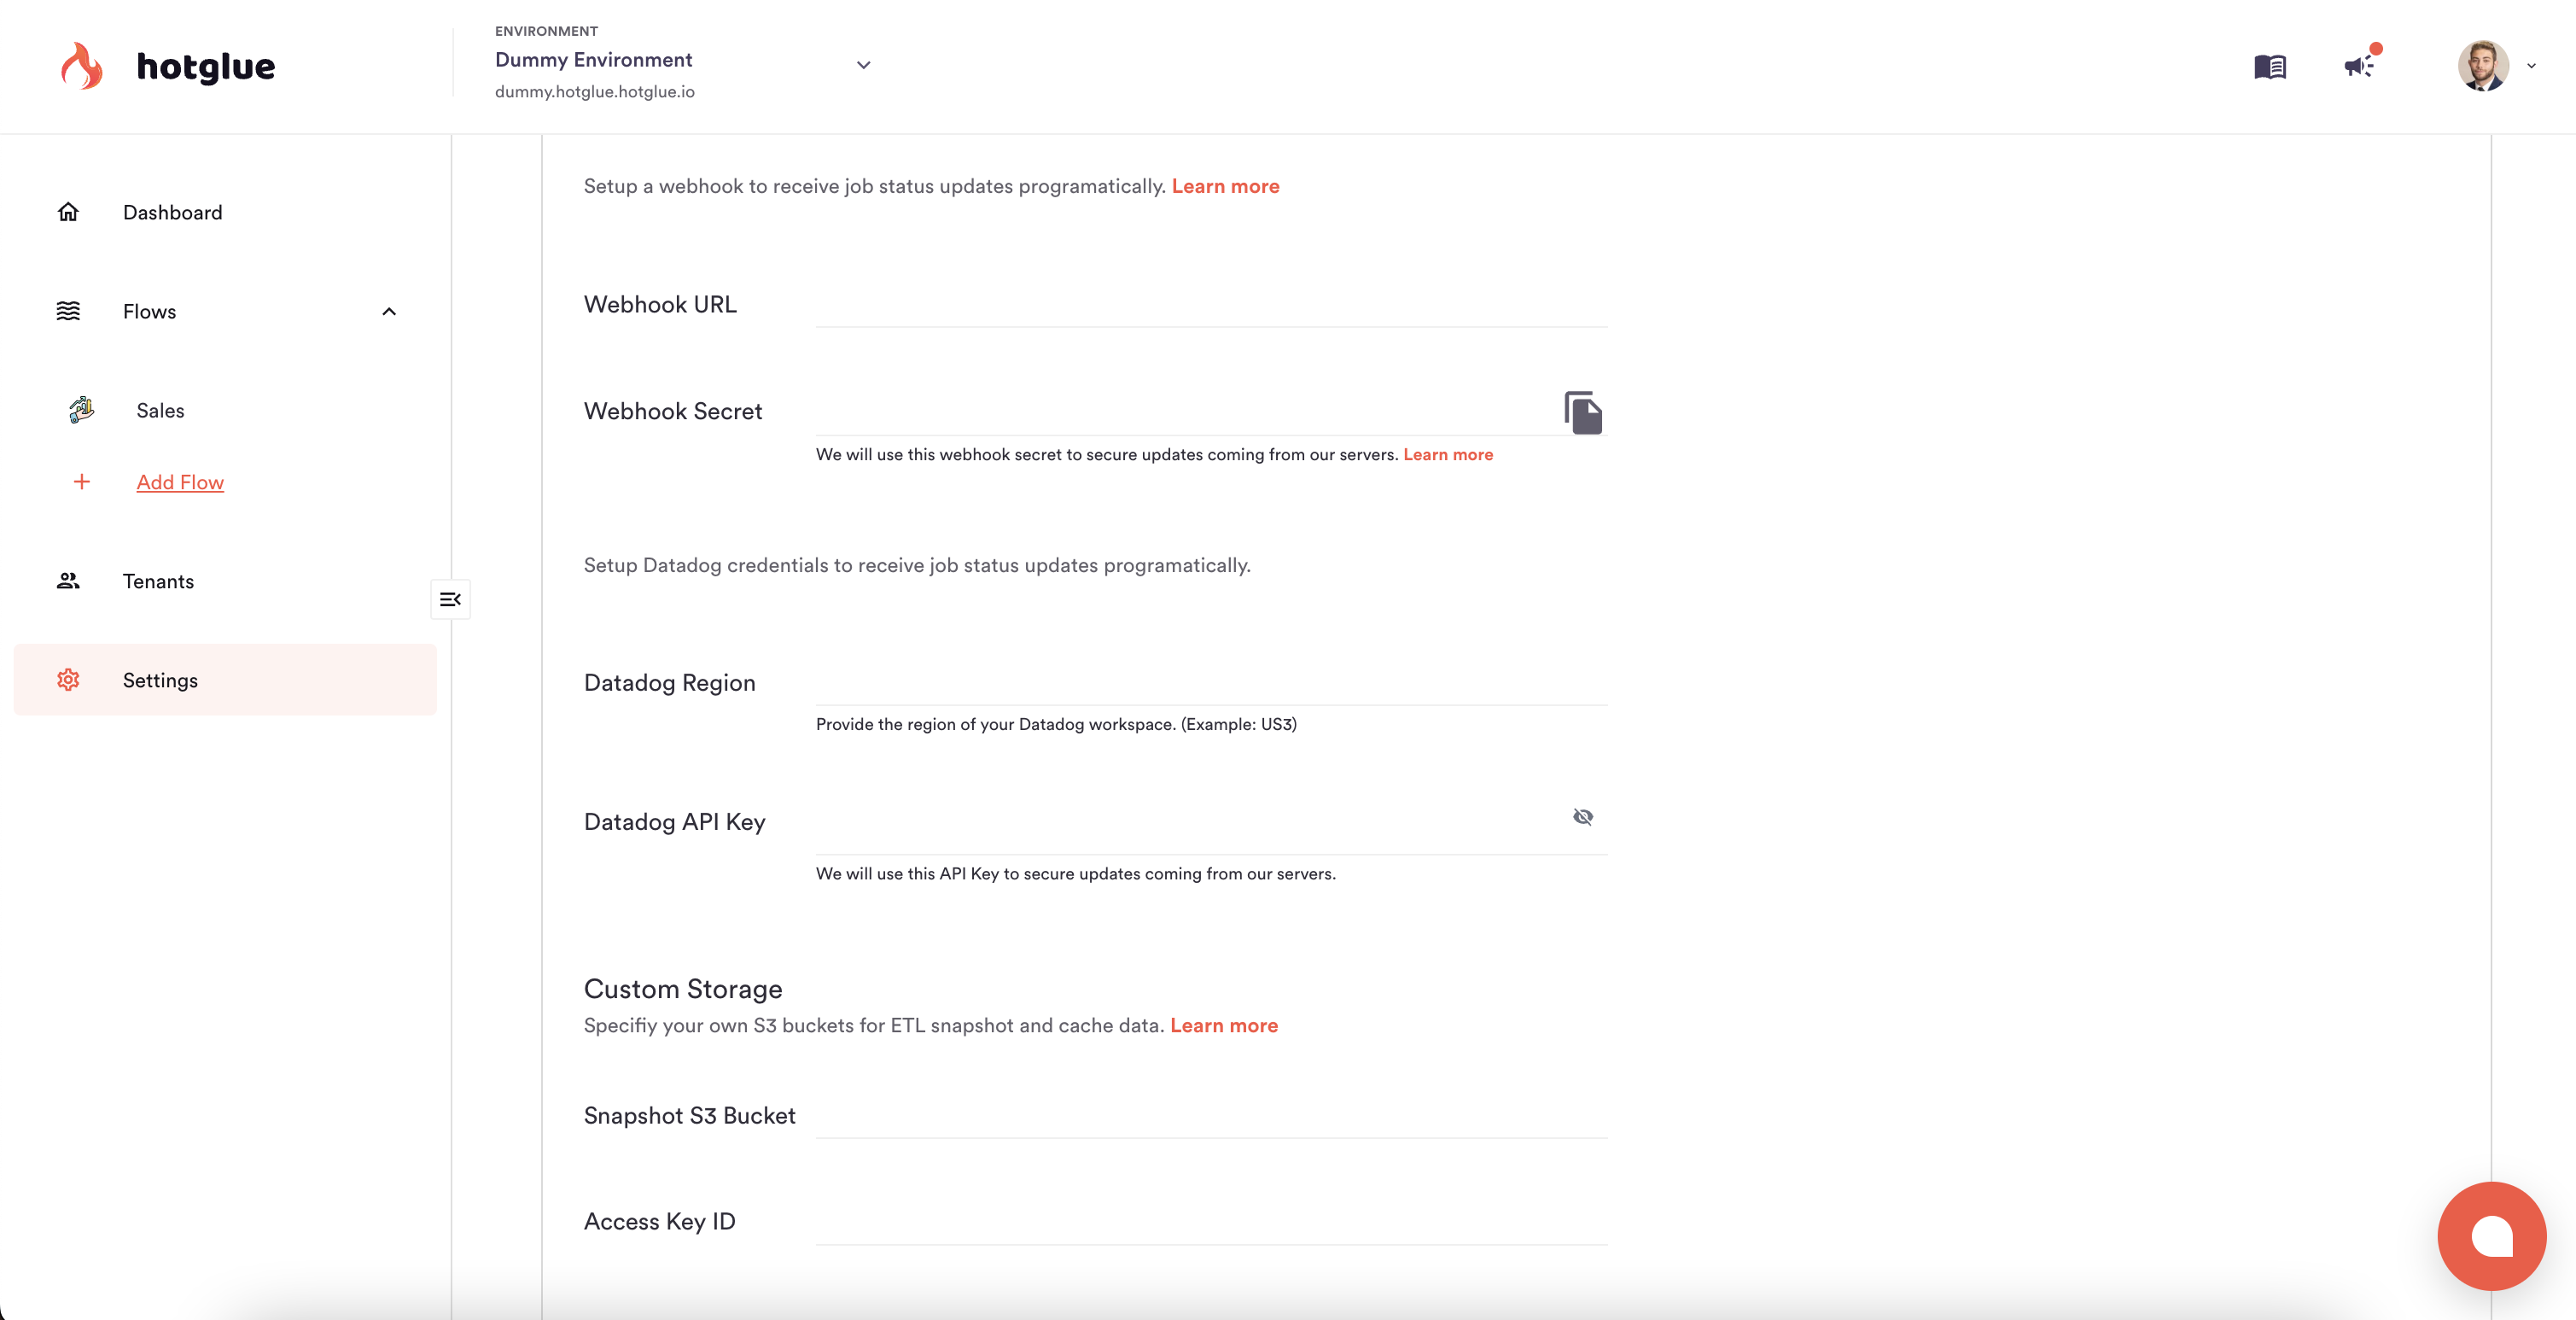
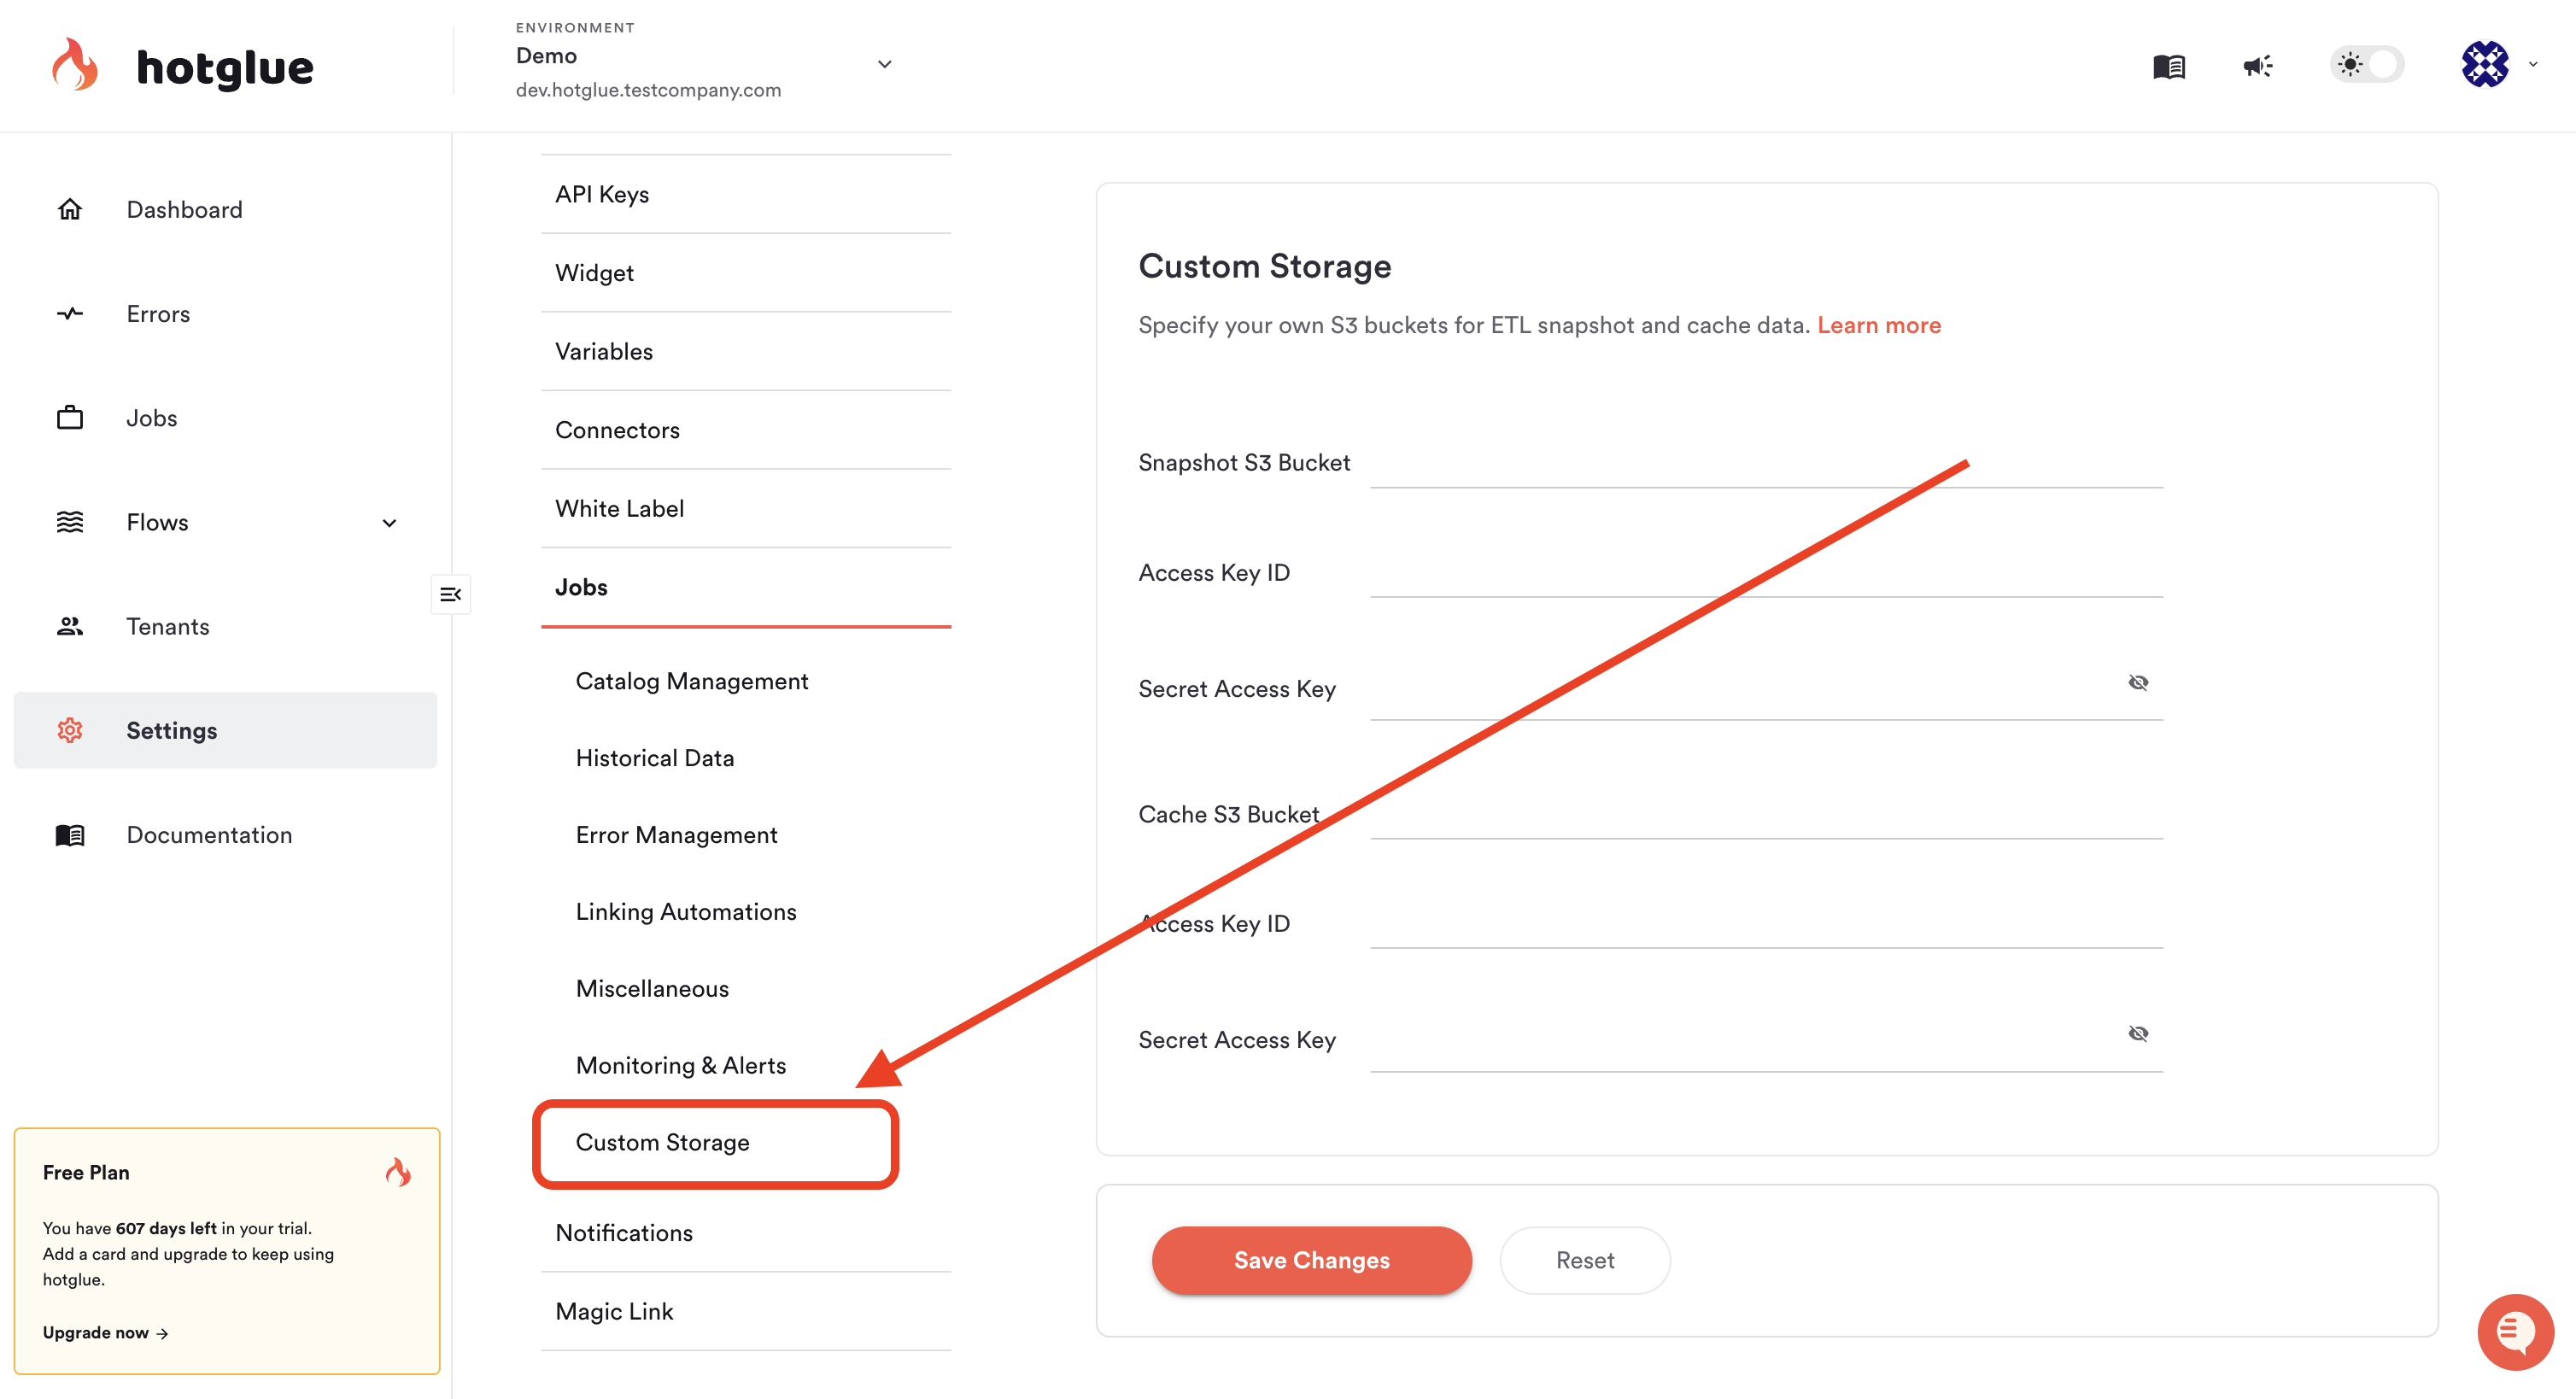
# Custom storage
In certain cases you may want to *snapshot* or *cache* the data that hotglue processes during a specific sync job. By default this is done using hotglue's infrastructure, but you can configure this to be done using your own **AWS S3 buckets**.
To store either the snapshot or cache data in your own S3 bucket, you need to:
1. Create an S3 bucket that hotglue will use during jobs
2. Create an IAM user for hotglue to access this S3 bucket with programmatic credentials (Access Key Id / Secret Access Key pair)
3. Create an IAM permission policy and attach it to the IAM user. The policy should be as follows:
```
{
"Sid": "VisualEditor0",
"Effect": "Allow",
"Action": [
"s3:DeleteObject",
"s3:GetObject",
"s3:PutObject",
"s3:PutObjectAcl",
"s3:ListBucket"
],
"Resource": [
"arn:aws:s3:::",
"arn:aws:s3:::/*",
"arn:aws:s3:::",
"arn:aws:s3:::/*"
]
}
```
1. Finally, you can save the bucket name, access key id, and secret access key to your hotglue settings, as pictured below:
 # Private Repositories
This feature is not available to customers enrolled in the Hotglue Startup Program.
If you are interested in using proprietary Taps and Targets that are hosted in private repositories, you can add a GitHub or GitLab access token to your Hotglue environment. This token should have read permissions on the relevant repositories.
To mark a connector as requiring the use of this token, use the `is_private_repo` [connector setting](/key-concepts/connectors/v1-sources/settings#is-private-repo).
# AWS VPC Sharing
This feature is only available on the Enterprise Platform License.
### Overview
On our enterprise tier we offer the ability to leverage Amazon Virtual Private Cloud (VPC) sharing.
By leveraging a shared VPC setup, data transfers between your system and hotglue remain private and secure, avoiding exposure over the public internet.
### Prerequisites
To use this feature, ensure you have the following:
1. AWS Account: Administrator access to manage VPC and S3 resources.
2. VPC Sharing Permissions: Confirm that your organization allows setting up VPC sharing.
### Step 1: Receive VPC Information from hotglue
Your hotglue account manager will provide the following details:
* VPC ID
* Subnet IDs
* Route table information
* Security group configuration
### Step 2: Establish VPC Peering Connection
1. Navigate to the **VPC Dashboard** in your AWS Management Console.
2. Select **Peering Connections** and click **Create Peering Connection**.
3. Provide the following details:
* **Requester VPC**: Select your existing VPC.
* **Accepter VPC**: Enter the VPC ID provided by hotglue.
4. Click **Create Peering Connection**.
5. Notify hotglue so they can accept the peering request on their side.
### Step 3: Update Route Tables
1. In the **VPC Dashboard**, go to **Route Tables**.
2. Select the route table associated with your VPC.
3. Click **Edit Routes** and add a new route:
* **Destination**: CIDR block provided by hotglue.
* **Target**: Select the peering connection created in Step 2.
4. Save the route.
### Step 4: Configure Security Groups
1. Go to **Security Groups** in the VPC Dashboard.
2. Select the security group associated with your resources.
3. Click **Edit Inbound Rules** and add a rule to allow traffic from the hotglue VPC.
* **Type**: Custom TCP Rule (or as per your application needs)
* **Protocol**: TCP
* **Port Range**: Define required ports, e.g.
1. `443` for HTTPS
2. `3306` for MySQL
* **Source**: hotglue-provided CIDR block
4. Save the changes.
For more assistance, contact hotglue support.
# Private Repositories
This feature is not available to customers enrolled in the Hotglue Startup Program.
If you are interested in using proprietary Taps and Targets that are hosted in private repositories, you can add a GitHub or GitLab access token to your Hotglue environment. This token should have read permissions on the relevant repositories.
To mark a connector as requiring the use of this token, use the `is_private_repo` [connector setting](/key-concepts/connectors/v1-sources/settings#is-private-repo).
# AWS VPC Sharing
This feature is only available on the Enterprise Platform License.
### Overview
On our enterprise tier we offer the ability to leverage Amazon Virtual Private Cloud (VPC) sharing.
By leveraging a shared VPC setup, data transfers between your system and hotglue remain private and secure, avoiding exposure over the public internet.
### Prerequisites
To use this feature, ensure you have the following:
1. AWS Account: Administrator access to manage VPC and S3 resources.
2. VPC Sharing Permissions: Confirm that your organization allows setting up VPC sharing.
### Step 1: Receive VPC Information from hotglue
Your hotglue account manager will provide the following details:
* VPC ID
* Subnet IDs
* Route table information
* Security group configuration
### Step 2: Establish VPC Peering Connection
1. Navigate to the **VPC Dashboard** in your AWS Management Console.
2. Select **Peering Connections** and click **Create Peering Connection**.
3. Provide the following details:
* **Requester VPC**: Select your existing VPC.
* **Accepter VPC**: Enter the VPC ID provided by hotglue.
4. Click **Create Peering Connection**.
5. Notify hotglue so they can accept the peering request on their side.
### Step 3: Update Route Tables
1. In the **VPC Dashboard**, go to **Route Tables**.
2. Select the route table associated with your VPC.
3. Click **Edit Routes** and add a new route:
* **Destination**: CIDR block provided by hotglue.
* **Target**: Select the peering connection created in Step 2.
4. Save the route.
### Step 4: Configure Security Groups
1. Go to **Security Groups** in the VPC Dashboard.
2. Select the security group associated with your resources.
3. Click **Edit Inbound Rules** and add a rule to allow traffic from the hotglue VPC.
* **Type**: Custom TCP Rule (or as per your application needs)
* **Protocol**: TCP
* **Port Range**: Define required ports, e.g.
1. `443` for HTTPS
2. `3306` for MySQL
* **Source**: hotglue-provided CIDR block
4. Save the changes.
For more assistance, contact hotglue support.