Connector Details
| Name | Value |
|---|---|
| Platform | AWS S3 |
| Auth Type | API Keys |
| Direction | Bidirectional |
| Tap Metrics | Usage: |
| Target Metrics | Usage: |
Overview
You can use the S3 connector to read and write files with S3.How to authenticate S3
Determining the appropriate IAM Policy
However you choose to authenticate, you will need to determine an appropriate IAM policy for your integration. The policy you create depends on your integration needs:-
Exporting to S3: Only needs
s3:PutObject -
Fetching from S3: Needs
s3:ListBucketands3:GetObject
BUCKET_NAME with your bucket:
- HMAC Access Key ID and Secret (default)
- Cross-account role with external ID
Method 1: HMAC Access Key ID and Secret
By default, the S3 connector authenticates using an Access Key ID and Secret Access Key.Step 1: Create an IAM User
- In AWS, navigate to IAM service
- Go to Users > Create user
- Enter a user name
- Select Access key - Programmatic access
- Click Next: Permissions
Step 2: Create and Attach Policy
- Click Attach policies directly > Create Policy
- Select the JSON tab and paste the policy from above.
- Click Next: Tags > Next: Review
- Name the policy and click Create policy
- Return to the user creation workflow
- Select your newly created policy
- Click Next: Review > Create user
-
Copy your
Access Key IDandSecret Access Key, and paste them into the widget.
Method 2: Cross-account AssumeRole with External ID
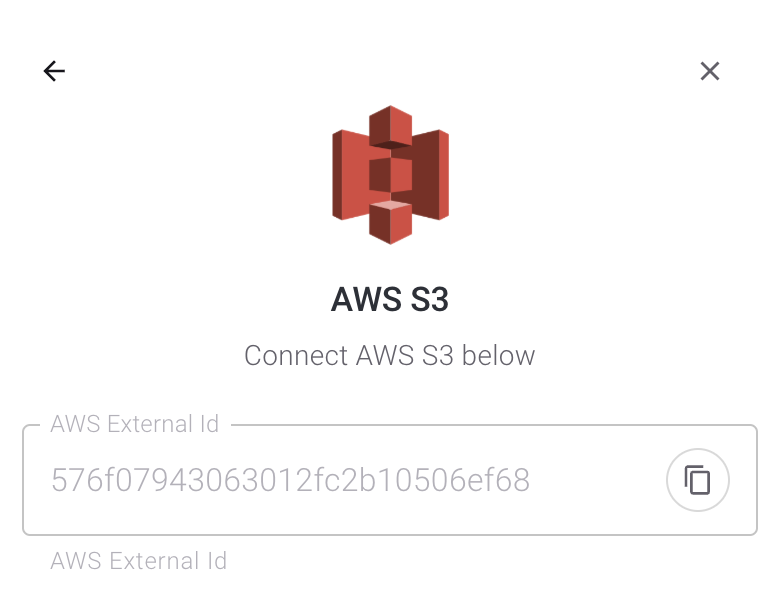
For enterprises requiring temporary credentials and enhanced security controls, you can use cross-account role access. To enable this in hotglue, change the S3connect_ui_params in your connector settings to include aws_external_id and aws_role_arn in lieu of aws_access_key_id and aws_access_key_id, like below:
aws_external_id is configured in your connector settings, the widget will automatically update to display a copy-pastable external ID for each tenant. Tenants will need this value to configure their settings in AWS.
Step 1: Create IAM Policy
- Navigate to IAM service
- Go to Policies > Create policy
- Select the JSON tab and paste the policy above.
- Click Next: Tags > Next: Review
- Name the policy and click Create policy
Step 2: Create IAM Role
- Navigate to IAM > Roles > Create role
- Select Custom trust policy
-
Paste the trust policy below, replacing
EXTERNAL_IDwith the external ID copied from the widget:
- Click Next
- Select the policy created in Step 1 and click Next
- Enter a Role name and click Create role
-
Copy the role’s
ARNfrom the summary page, and paste it into the widget.
Configuring your bucket connection
Each S3 connection accepts two key pieces of information:-
bucket: Your S3 bucket name (e.g.,my-company-data) -
path_prefix: A specific path within your bucket (e.g.,incoming/orders)
Using variables in paths
Make your paths dynamic by using variables in curly braces. For example:| Variable | Description | Example Output |
|---|---|---|
| tenant | Your tenant ID | acme_corp |
| root_tenant_id | Root tenant ID (for subtenants) | acme |
| tap | Tap ID this job ran for | salesforce |
| date | Current date (YYYYMM) | 202312 |
| full_date | Full date (YYYYMMDD) | 20231206 |
| flow_id | Flow identifier | Fq183dc |
| job_id | Internal job ID | jklc4 |
| env_id | Environment | prod.hg.acme.com |
Reading Files
When reading from S3:- Files are copied from your bucket maintaining their directory structure
- All files within your path_prefix are processed, unless using incremental mode
- File contents must be parsed in your transformation script
Writing Files
When writing to S3:- Files are written to your specified path_prefix
- Directory structure is created automatically if it doesn’t exist
- File naming and organization can also be controlled in your transformation script