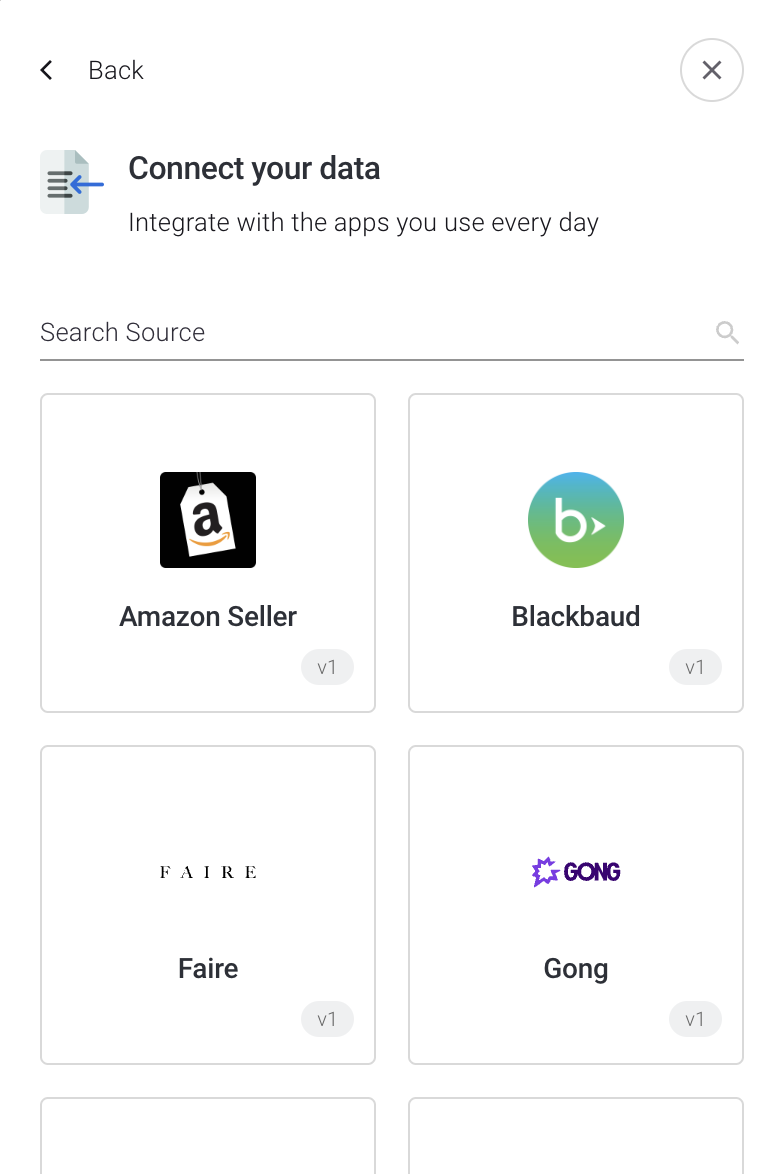
Introduction to the widget
The hotglue widget is a white-labeled component that allows your users to integrate instantly, without leaving your app. You can embed the widget using a few lines of Javascript or React.

Installation (React)
Install the @hotglue/widget package
If your project is built in React, you can install the @hotglue/widget package. using npmLaunch the widget
First you must include theHotglueConfig provider as a higher order component in your React app. For example, in index.js:
index.js
useHotglue hook:
App.js
Installation (Next.js)
Just like above, begin by installing the @hotglue/widget package using npmHotglueConfig on your page and configure it.
next.js
HomeComponent. Inside of it you can launch the widget using the useHotglue hook:
next.js
connections component.
next.js
Installation (Vanilla JavaScript)
1. Call and mount the widget
The first step of embedding hotglue is to add the widget to your web app. Simply copy the code generated from the hotglue environment dashboard into your HTMLhead tag.
Default method
Default method
HTML
Async method
Async method
HTML
2. Launch the widget
Option 1 - HotGlue.link() Now that the hotglue widget is installed in your web app, open the widget by callingHotGlue.link(<tenant id>, <flow id>, <source>, <preloaded>, <options>). In the example below, we also use options to hide the back button and add a listener to close the widget once the source is successfully linked.
HotGlue.open(<tenant id>)