Snowflake
Connector Details
Name | Value |
---|---|
Platform | Snowflake |
Auth Type | API Keys |
Direction | Bidirectional |
Tap Repo | https://gitlab.com/hotglue/tap-snowflake |
Target Repo | https://gitlab.com/hotglue/target-snowflake |
Tap Metrics | Usage: |
Target Metrics | Usage: |
Credentials Setup
The snowflake connector uses the following 8 connection parameters:
Follow the steps below to find each of these in Snowflake.
1. user
If you do not already have a Snowflake account, you can create one here.
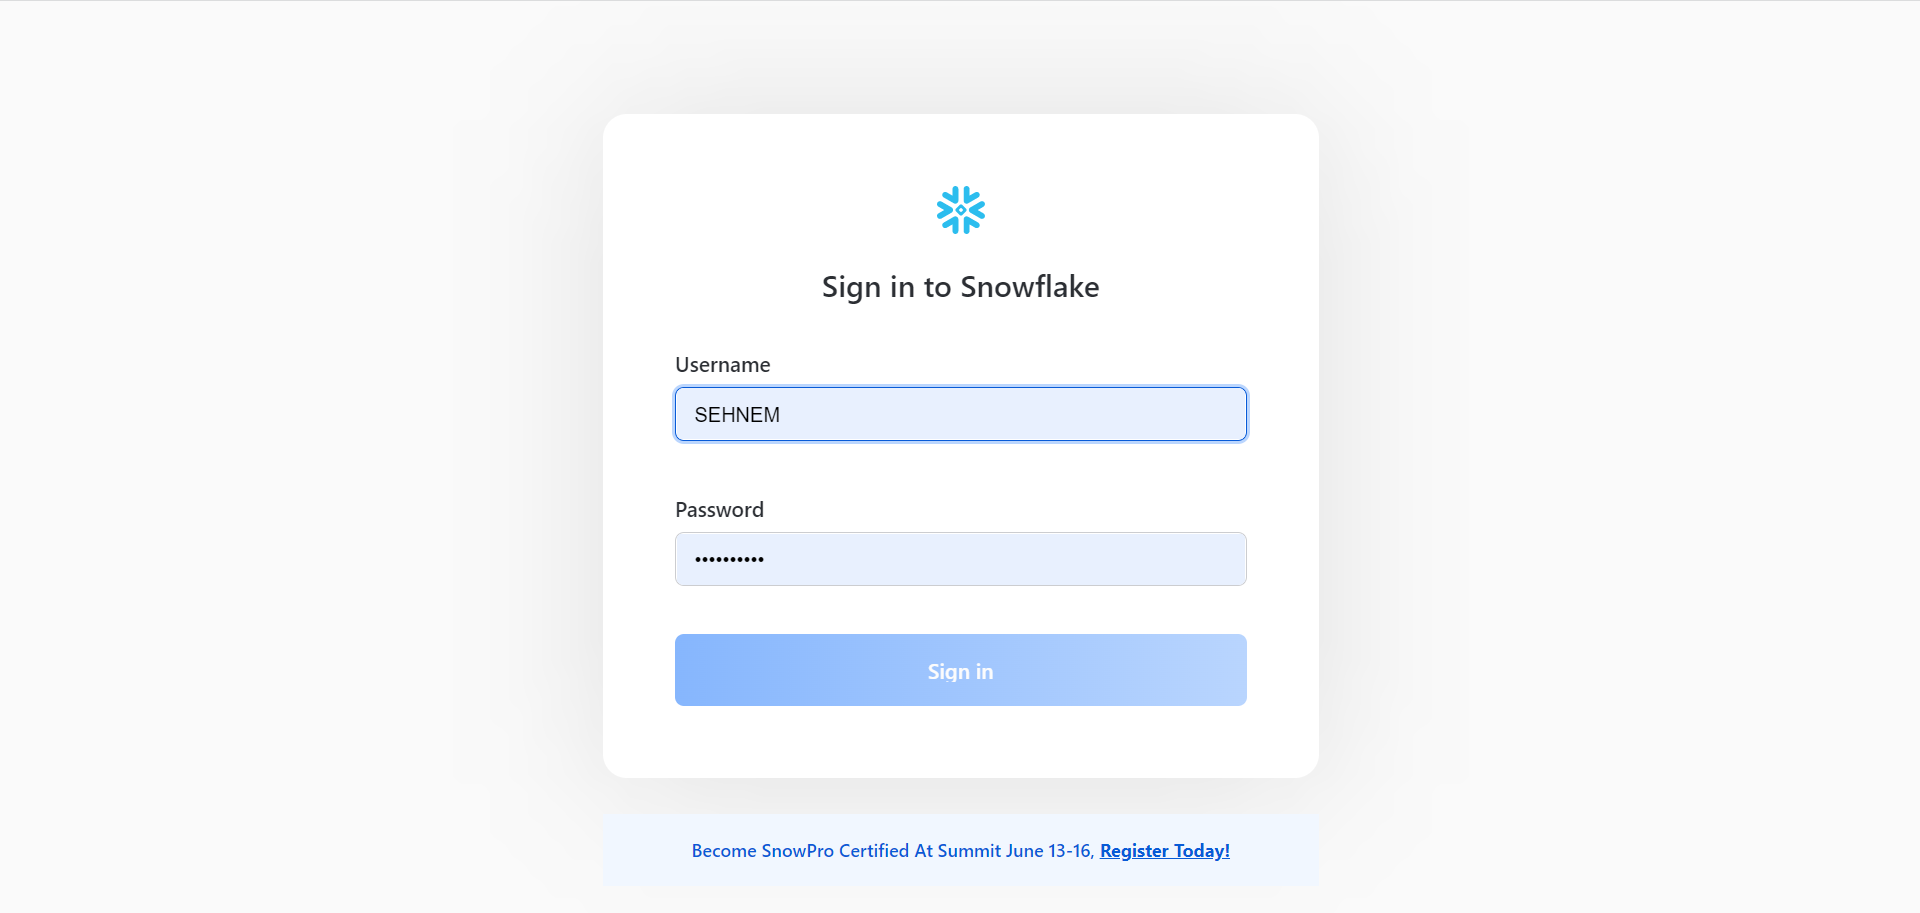
This is the username that should be used when linking the Snowflake connector.
2. account
Once signed in, you’ll be taken to a homepage with a url that looks like:
For the account
field, users should enter “ORG_ID-ACCOUNT_ID”.
For example, if this is your url:
Your account
parameter should be set to rybaofs-ftb21143
.
3. warehouse
You can find a list of valid warehouses
in Admin
> Warehouses
Use the name of your primary, active warehouse for the warehouse
field.
4. database
, and schema
Navigate to Data
> Databases
, and click the Add Database button in the top right corner.
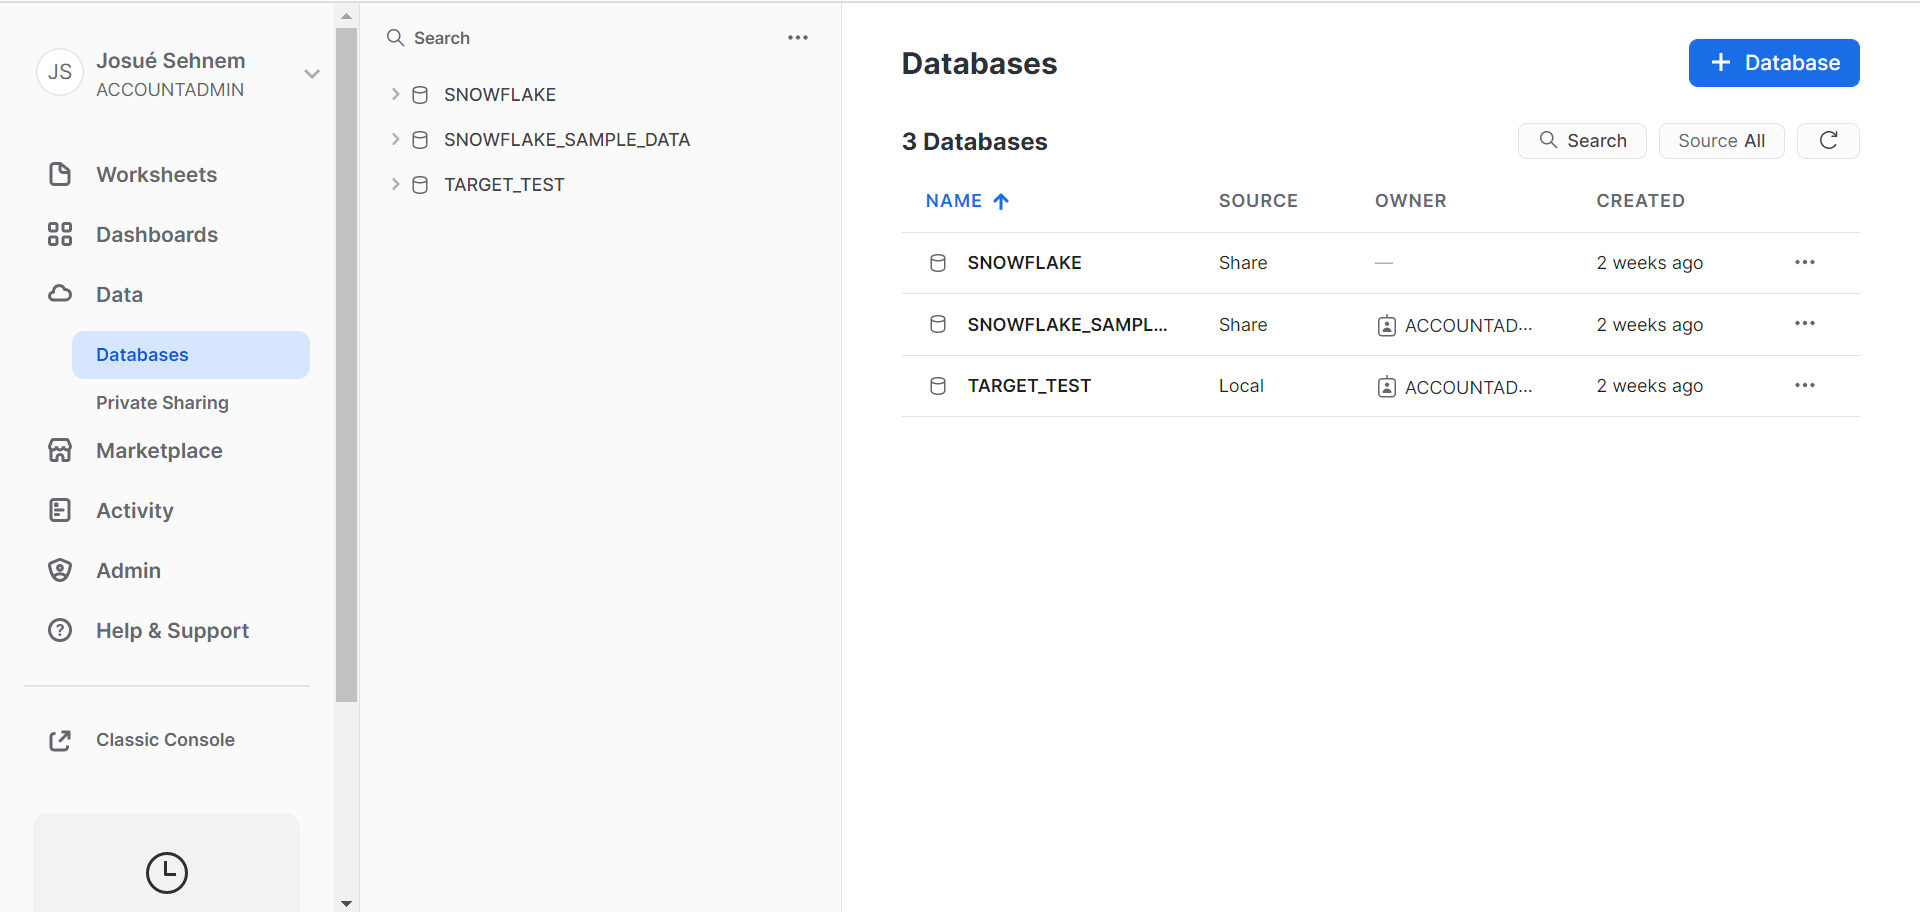
You can now create the new database, noting the name
:
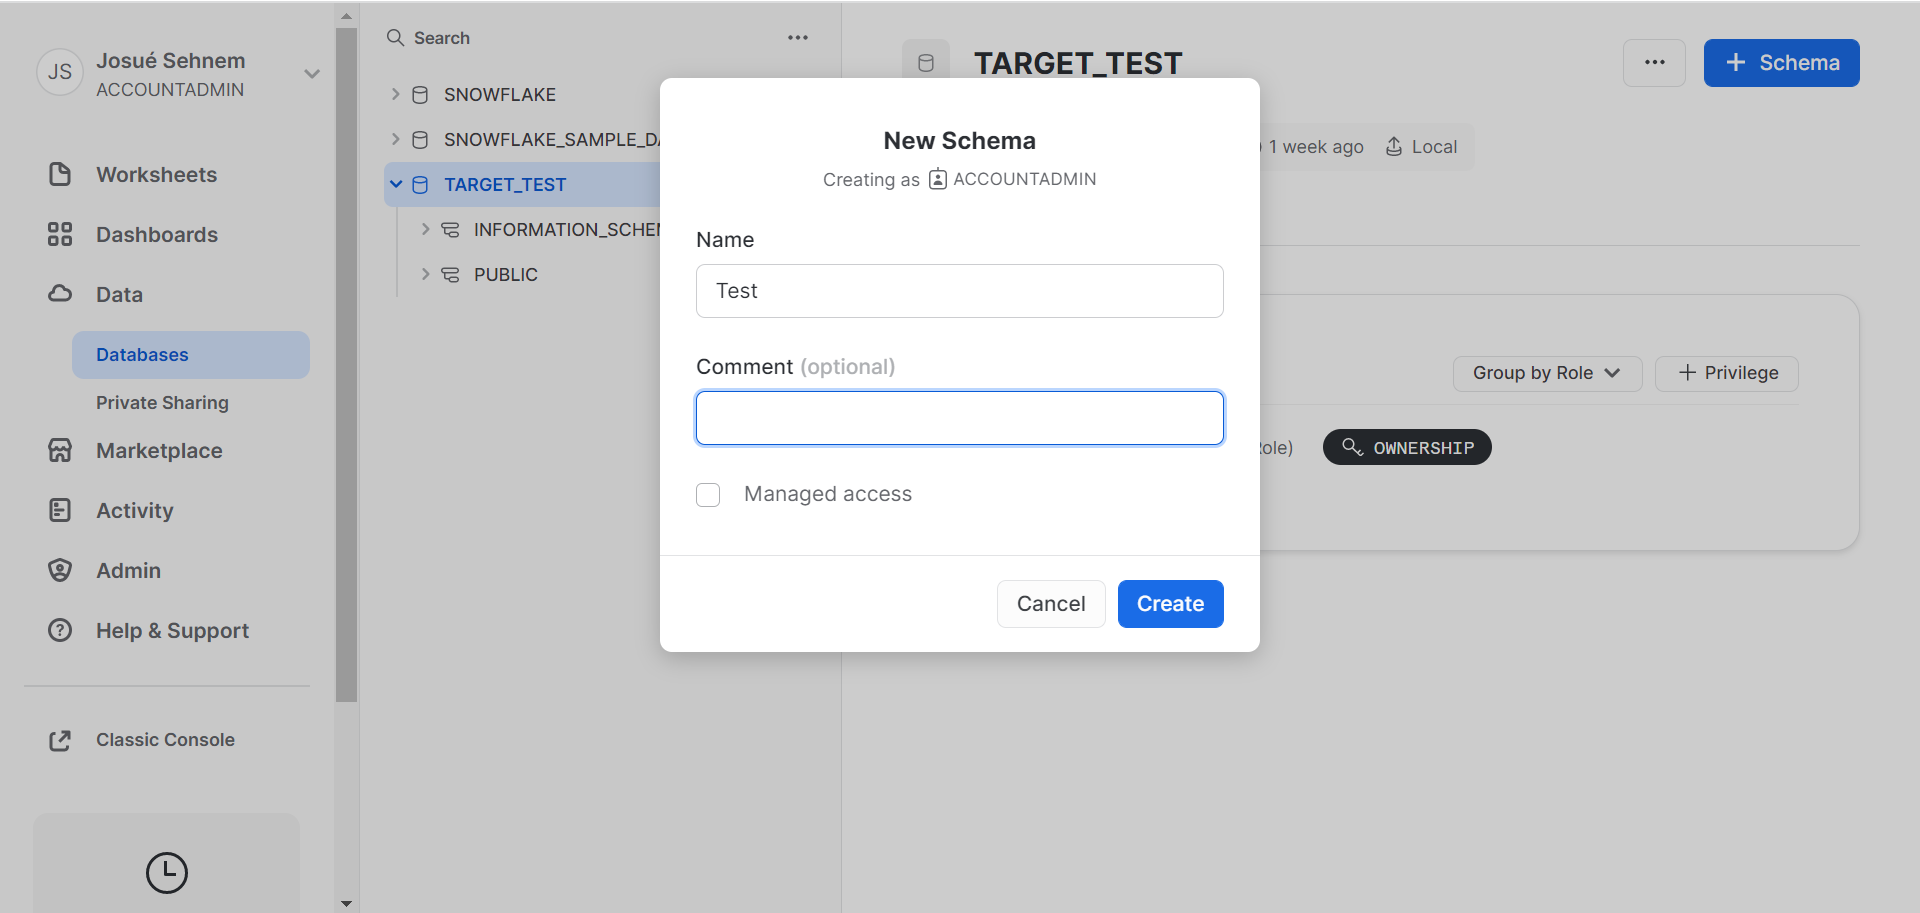
Next, you should search for Schema
in the secondary navigation bar. You will now be able to see your database name (this example is called Target Test). Within Target Test, you can see the available schemas for this database. Input the desired schema as the schema
field in hotglue.
5. file_format
Next, you need to create a named file format in your Snowflake schema. This will be used by the MERGE/COPY commands to parse the files correctly from S3.
To use CSV files you can create a file format using the command:
You should use your chosen file_format_name
as the file_format
connection parameter.
6. Authenticating with key-pair authentication
Finally, you can generate your private key by running the following command in your local terminal:
If you wish to use an encrypted key, you can instead run the command without the -nocrypt
flag:
If you are using an encrypted key, enter your key’s password into the private_key_password
field.
These commands will generate a private key in the PEM format:
You can copy and paste the entirety of that key directly into Hotglue for the private_key
parameter.
Next, generate a public key for your private key with:
Finally, execute the following command in Snowflake to associate your public key with your user profile:
Target Snowflake
Target Snowflake creates Snowflake tables and uploads data for every stream passed to it by the ETL output.
Example ETL Script
Available config flags
Property | Type | Required? | Description |
---|---|---|---|
batch_size_rows | Integer | (Default: 100000) Maximum number of rows in each batch. At the end of each batch, the rows in the batch are loaded into Snowflake. | |
batch_wait_limit_seconds | Integer | (Default: None) Maximum time to wait for batch to reach batch_size_rows . | |
flush_all_streams | Boolean | (Default: False) Flush and load every stream into Snowflake when one batch is full. Warning: This may trigger the COPY command to use files with low number of records, and may cause performance problems. | |
parallelism | Integer | (Default: 0) The number of threads used to flush tables. 0 will create a thread for each stream, up to parallelism_max. -1 will create a thread for each CPU core. Any other positive number will create that number of threads, up to parallelism_max. | |
parallelism_max | Integer | (Default: 16) Max number of parallel threads to use when flushing tables. | |
primary_key_required | Boolean | (Default: True) Log based and Incremental replications on tables with no Primary Key cause duplicates when merging UPDATE events. When set to true, stop loading data if no Primary Key is defined. |